How to test laptop battery with multimeter
Basic Steps for Testing a Laptop Battery with a Multimeter
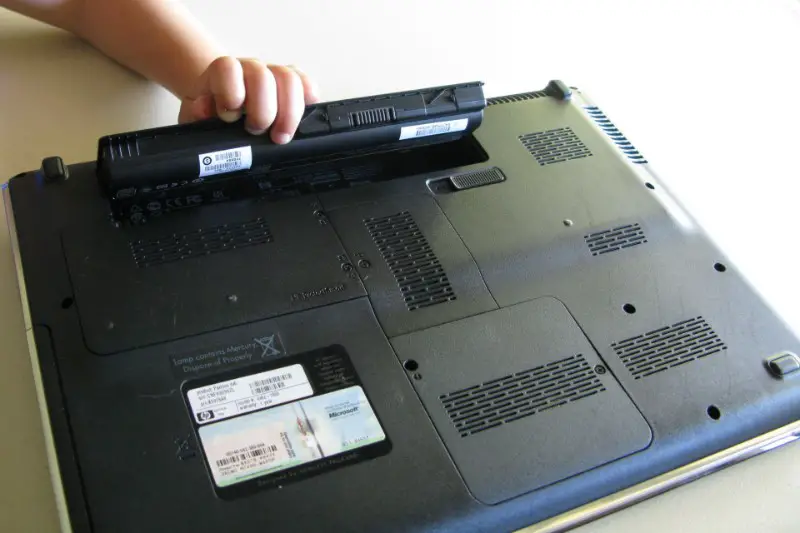
Step 1: Unplug the Laptop
Before you begin testing a laptop battery with a multimeter, it is essential to unplug the device from all power sources. This is important as it can help to prevent any electrical shock or damage to the battery and laptop. Once the laptop is unplugged, remove the battery and place it on a flat, clean surface.
Content of the page
Step 2: Set the Multimeter to the Appropriate Voltage Setting
Next, you will need to set the multimeter to the appropriate voltage setting. This setting is usually marked as “DCV” (direct current voltage). Once this is done, you will need to attach the red lead from the multimeter to the positive terminal of the battery and the black lead to the negative terminal. Now, you can take a reading of the battery’s voltage.
Step 3: Test the Voltage Output
The voltage output should match the voltage of the battery. For example, if the battery is rated at 11.1 V, then the voltage output should read 11.1 V. If the voltage output is less than the rated voltage, then this could indicate that the battery is not functioning correctly.
Step 4: Test the Battery’s Current Draw
You can also test the battery’s current draw by setting the multimeter to the “DCA” (direct current amperage) setting. Attach the red lead to the positive terminal and the black lead to the negative terminal. Take a reading of the current draw. If the current draw is higher than the rated current draw of the battery, then this could indicate that the battery is not functioning correctly.
Testing a laptop battery with a multimeter is a simple process that can help you to identify any potential faults with the battery. This can help you to ensure that your laptop is running at its optimal performance. If you are unsure about how to use a multimeter, then it is recommended that you consult a professional.
Additional Tips for Testing Laptop Batteries with a Multimeter
Testing laptop batteries with a multimeter can help you identify problems with your laptop’s battery before it fails. By following these tips, you can ensure that your battery is in optimal condition and that you are taking the best care of your battery possible.
Tip 1: Pay Close Attention to the Connections
When using a multimeter to test your laptop battery, it is important to pay close attention to the connections. Ensure that the multimeter is firmly connected to the laptop battery and that the voltage range is set correctly. It is also important to make sure the leads are connected properly, as a loose connection can lead to inaccurate readings.
Tip 2: Read the Manufacturer’s Manual
It is important to read the manufacturer’s manual in order to understand the specific steps necessary to test the battery with a multimeter. Most laptop battery manufacturers provide detailed instructions for properly connecting the multimeter and interpreting the results. Reading the manufacturer’s manual will ensure that you are testing the battery correctly.
Tip 3: Have a Backup Plan
When testing laptop batteries with a multimeter, it is important to have a backup plan in case the results are not what you expected. It is important to be prepared for any eventuality, and having a backup plan in place can help you make sure that your laptop battery is in optimal condition. In conclusion, testing laptop batteries with a multimeter can help you identify problems with your laptop’s battery before it fails. By following these tips, you can ensure that your battery is in optimal condition and that you are taking the best care of your battery possible. Pay close attention to the connections, read the manufacturer’s manual, and make sure you have a backup plan in case the results are not what you expected. Doing so will help you get the most out of your laptop battery.