How to replace ONN 10.1 tablet screen
Replacing a broken or cracked ONN tablet screen can be an intimidating task, but with the right tools and knowledge, it can be done quickly and easily. To replace an ONN 10.1 tablet screen, you’ll need a few key tools and replacement parts.
Content of the page
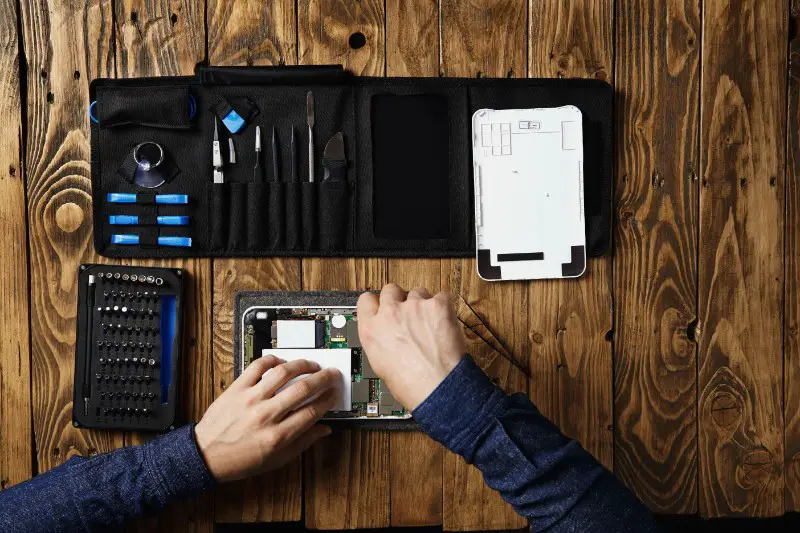
Required Tools
Replacing a tablet screen can be tricky and requires the right tools. Here is a list of the tools and replacement parts you’ll need to replace an ONN 10.1 tablet screen:
- Screwdrivers: You’ll need a Phillips-head screwdriver to remove the screws from the back of the tablet. These screws are usually tiny and can easily be lost, so take care when removing them.
- Spudger: A spudger is a tool that helps to pry the back cover off the tablet. This tool is essential to getting the job done right, so make sure you have one handy.
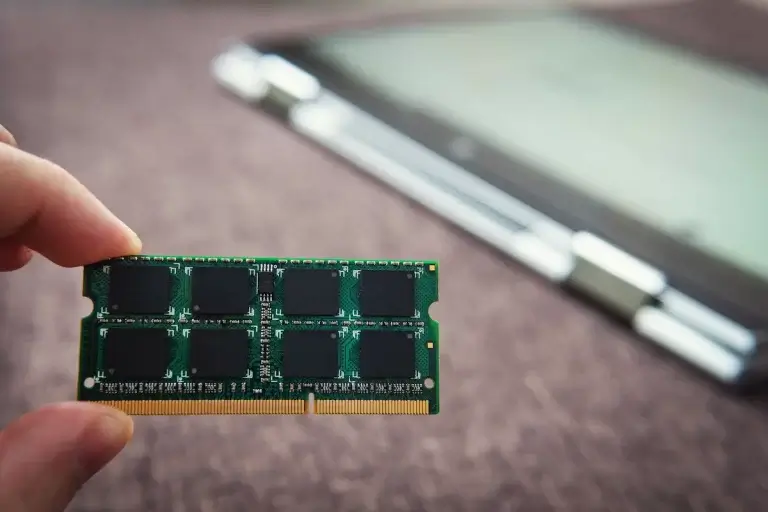
Replacement Screen
Once you’ve gathered the necessary tools, you’ll need to purchase a replacement screen for your ONN 10.1 tablet. You can find these replacement screens online or at most electronics stores. Make sure you get the right size and model for your tablet, or it may not fit properly.
Steps to Replace an ONN Tablet Screen
Step 1: Power Down the Device and Remove the Back Panel
Powering down the device is one of the most important steps in replacing the screen, as it prevents any potential damage during the process. To power down the device, press and hold the power button for a few seconds and then release it. The device should then display a prompt asking if you would like to power off the device. Select the option to power off the device and wait for the screen to turn black. Once the device is powered off, the back panel must be removed in order to access the internals of the device. To remove the back panel, use a Phillips-head screwdriver to unscrew the four screws that are located on the back of the device. Once the screws are removed, the panel should be able to be lifted off.
Power Down the Device
Powering down the device is one of the most important steps in replacing the screen, as it prevents any potential damage during the process. To power down the device, press and hold the power button for a few seconds and then release it. The device should then display a prompt asking if you would like to power off the device. Select the option to power off the device and wait for the screen to turn black.
Remove the Back Panel
Once the device is powered off, the back panel must be removed in order to access the internals of the device. To remove the back panel, use a Phillips-head screwdriver to unscrew the four screws that are located on the back of the device. Once the screws are removed, the panel should be able to be lifted off.
Step 2: Remove the Battery
Now that the back panel is off, the battery must be removed in order to access the internals of the device. To remove the battery, locate the two clips that are holding the battery in place and use a Phillips-head screwdriver to unscrew them. Once the clips are unscrewed, the battery should be able to be pulled out of the device.
Step 3: Remove the Motherboard and Display Assembly
Once the battery is removed, the motherboard and display assembly must be removed in order to access the digitizer. To remove the assembly, use a Phillips-head screwdriver to unscrew the four screws that are located near the edges of the assembly. Once the screws are removed, the assembly should be able to be lifted off.
Step 4: Remove the Digitizer
Now that the display assembly and motherboard are removed, the digitizer must be removed in order to replace the screen. To remove the digitizer, locate the four clips that are securing the digitizer to the display assembly and use a Phillips-head screwdriver to unscrew them. Once the clips are removed, the digitizer should be able to be pulled off.
Step 5: Install the New Digitizer
Once the old digitizer is removed, the new digitizer can be installed. To install the new digitizer, locate the four clips on the new digitizer and use a Phillips-head screwdriver to screw them into the display assembly. Once the clips are tightened, the new digitizer should be securely in place.
Step 6: Reattach the Display Assembly and Motherboard
Now that the new digitizer is installed, the display assembly and motherboard must be reattached to the device. To do this, use a Phillips-head screwdriver to screw the four screws that were removed earlier into the edges of the display assembly. Once the screws are tightened, the display assembly and motherboard should be securely in place.
Step 7: Reinstall the Battery and Back Panel
Once the display assembly and motherboard are reattached, the battery and back panel can be reinstalled. To do this, locate the two clips on the battery and use a Phillips-head screwdriver to screw them into place. Once the clips are tightened, the battery should be securely in place. To reinstall the back panel, align the panel with the device and use a Phillips-head screwdriver to screw the four screws that were removed earlier into the back of the device. Once the screws are tightened, the back panel should be securely in place.
Step 8: Power On the Device and Test the Screen
Once the battery and back panel are reinstalled, the device can be powered on and the screen can be tested. To power on the device, press and hold the power button for a few seconds and then release it. The device should then display a prompt asking if you would like to power on the device. Select the option to power on the device and wait for the screen to turn on. Once the screen is on, test the new digitizer to make sure the touch functionality is working properly. To do this, use a finger to tap and swipe across the screen and check that the device is responding properly. If the device is not responding properly, the new digitizer may need to be adjusted or replaced.
Troubleshooting Common Issues with ONN 10.1 Tablet Screens
Replacing an ONN 10.1 tablet screen can be a complicated process, as it involves disassembling the entire device and replacing the faulty screen with a new one. Before attempting to replace the screen, it is important to troubleshoot the issue and ensure that the screen is actually the root of the problem. Here are some common issues with ONN 10.1 tablet screens and how to troubleshoot them.
Issues with Touch Response
If your ONN 10.1 tablet is not responding to touch input, there are a few things you can do to try and fix the issue.
- First, try restarting the device. This will often resolve minor software issues that cause touch input to not work.
- If restarting does not work, try cleaning the screen with a soft, lint-free cloth. This will remove any dirt or dust that may be interfering with the touch input.
- If the issue persists, you may need to replace the screen.
Issue with Display Brightness
If the display on your ONN 10.1 tablet is too dim or too bright, there are a few things you can do to try and fix the issue.
- First, try adjusting the brightness settings in the device’s settings menu. This will allow you to manually adjust the display brightness to a level that is comfortable for you.
- If the brightness settings do not work, try resetting the device. This will restore the device to its factory settings, which may fix the issue.
- If the issue persists, you may need to replace the screen.
Issue with Screen Resolution
If the screen on your ONN 10.1 tablet is displaying an incorrect resolution, there are a few things you can do to try and fix the issue.
- First, try adjusting the resolution settings in the device’s settings menu. This will allow you to manually adjust the display resolution to a level that is comfortable for you.
- If the resolution settings do not work, try resetting the device. This will restore the device to its factory settings, which may fix the issue.
- If the issue persists, you may need to replace the screen.