
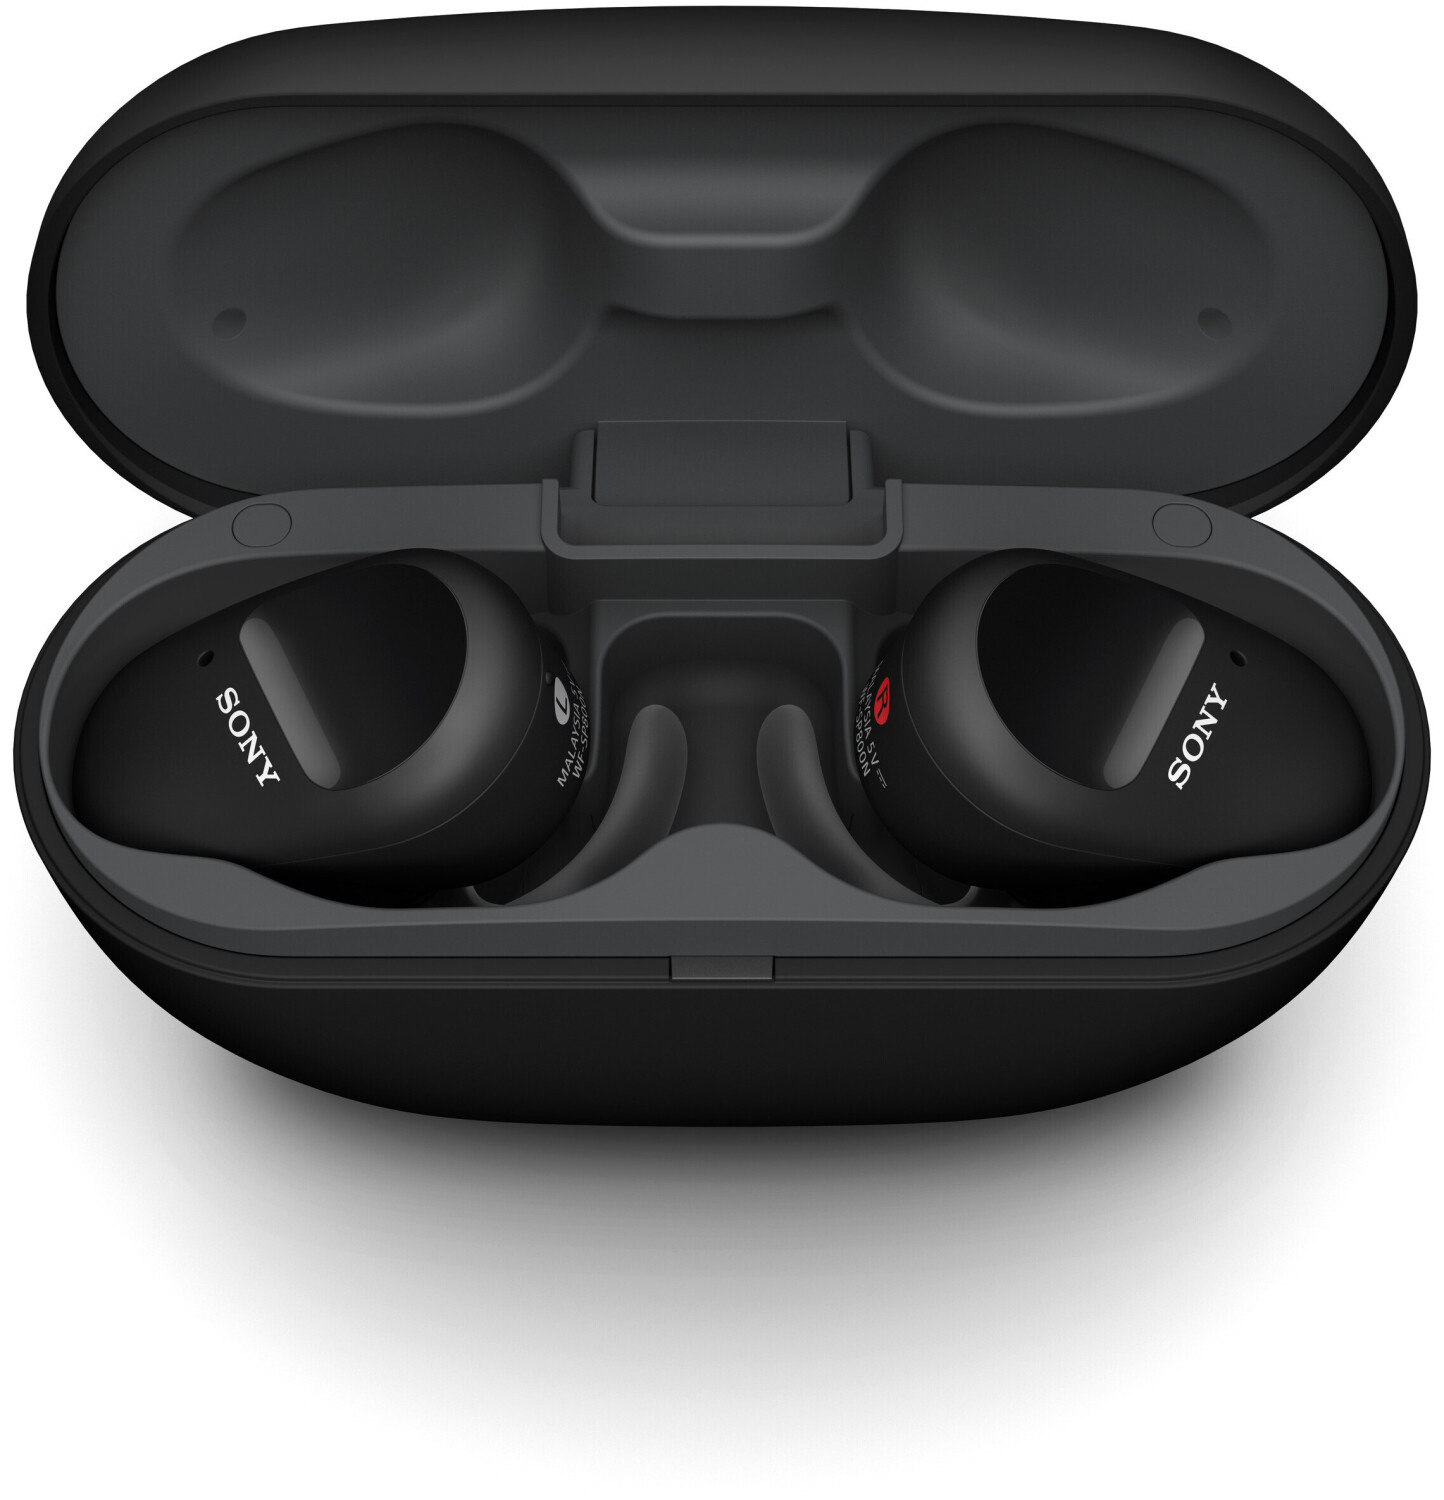
The Sony WF-SP800N is an excellent choice for those looking to get the best sound quality out of their laptop. With its noise-canceling feature, this pair of headphones blocks out the noise of the outside world, allowing you to focus on your music or videos. Connecting it to your laptop is a relatively easy task and can be done in just a few steps. In this article, we will guide you through the steps of connecting your Sony WF-SP800N to your laptop.
Content of the page
| Specification | 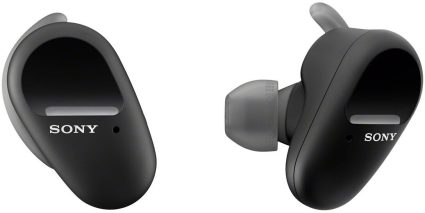
Sony WF-SP800N |
|---|---|
| Design | In-ear |
| Driver Units | 6mm |
| Connectivity | Bluetooth wireless technology |
| Noise Cancellation | Yes, Digital Noise Cancellation |
| Water and Dust Resistance | IP55 rating (splash, sweat, and dust resistance) |
| Battery Life | Up to 9 hours (earbuds), additional 9 hours (case) |
| Charging Time | Approximately 2.5 hours (earbuds), 3.5 hours (case) |
| Quick Charge | 10 minutes of charging provides up to 60 minutes of playback |
| Companion App | Sony Headphones Connect app |
| Earbud Controls | Touch controls for playback, volume, calls, and voice assistant |
| Voice Assistant Support | Yes, compatible with Google Assistant and Siri |
| Weight | Approximately 9.3 grams per earbud |
| Colors | Black, Blue, White |
Step-by-Step Guide on How to Connect Sony WF-SP800N to Laptop

Step 1: Charge Your Sony WF-SP800N
Before you start the pairing process, make sure to charge your Sony WF-SP800N headphones. The headphones should be fully charged before you start the pairing process to ensure that it will be successful.
Step 2: Turn On Bluetooth on Your Laptop
The next step is to turn on Bluetooth on your laptop. To do this, go to the settings of your laptop, and then click on the Bluetooth option. Make sure that the Bluetooth is turned on, and then proceed to the next step.
Step 3: Put Sony WF-SP800N into Pairing Mode
Once you have turned on the Bluetooth on your laptop, the next step is to put your Sony WF-SP800N headphones into pairing mode. To do this, press and hold the power button on the headphones until the LED light turns blue. This indicates that the headphones are in pairing mode.
Step 4: Connect Sony WF-SP800N to Your Laptop
Once your Sony WF-SP800N headphones are in pairing mode, go to the Bluetooth settings of your laptop, and then search for the headphones. Once the headphones are detected, click on the “pair” option. Once the pairing process is complete, your Sony WF-SP800N headphones will be connected to your laptop.
Step 5: Troubleshooting Common Connection Problems
If you are having trouble connecting your Sony WF-SP800N headphones to your laptop, there are a few things you can try. First, make sure that the headphones are turned on and that they are in pairing mode. If they are, then make sure that the Bluetooth settings on your laptop are turned on and that it is searching for the headphones. If all of these settings are correct, then try restarting your laptop and then trying again.
If you are still having trouble connecting your Sony WF-SP800N headphones to your laptop, then you may need to contact Sony for further assistance.
What to Do When Sony WF-SP800N Won’t Connect to Your Laptop?
Connecting your Sony WF-SP800N headphones to your laptop is a simple process, but if your headphones won’t connect to your laptop, it can be incredibly frustrating. Fortunately, there are a few simple steps you can take to troubleshoot the issue and get your headphones up and running again.

Check if Your Devices are Compatible
The first step is to make sure that your devices are compatible. The Sony WF-SP800N headphones are designed to work with Bluetooth-enabled devices, so they may not be compatible with older laptops or laptops without Bluetooth. Check the specifications of your laptop to make sure that it is Bluetooth-enabled, and then check the compatibility of your headphones with your laptop.
Check if Bluetooth is Turned On and Working Properly
Once you have confirmed that your devices are compatible, you should check to make sure that Bluetooth is turned on and working properly on your laptop. On most laptops, you can access Bluetooth from the Settings menu. Make sure that Bluetooth is turned on, and that your laptop is visible to other devices. If Bluetooth is not working properly, you may need to update your laptop’s Bluetooth driver.
Reset Your Sony WF-SP800N
If your Sony WF-SP800N headphones are still not connecting to your laptop, try resetting them. To do this, press and hold the power button for 10 seconds. This will reset the headphones and clear any old connections. Once the reset is complete, try connecting your headphones to your laptop again.
Update Your Laptop’s Bluetooth Driver
If resetting your headphones doesn’t help, you should try updating your laptop’s Bluetooth driver. You can do this by downloading the latest version of the driver from the manufacturer’s website. Once the driver is installed, try connecting your headphones to your laptop again.
Reset Your Laptop’s Bluetooth Settings
If updating the driver doesn’t work, you may need to reset your laptop’s Bluetooth settings. To do this, go to the Settings menu and select the Bluetooth tab. From there, select the “Reset Bluetooth Settings” option. Once the settings have been reset, try connecting your Sony WF-SP800N headphones to your laptop again.
Conclusion
Connecting your Sony WF-SP800N headphones to your laptop should be a simple process, but if you find that your headphones won’t connect to your laptop, there are a few steps you can take to troubleshoot the issue. First, make sure that your devices are compatible. Then, check to make sure that Bluetooth is turned on and working properly on your laptop. If that doesn’t work, try resetting your headphones and updating your laptop’s Bluetooth driver. Finally, if all else fails, try resetting your laptop’s Bluetooth settings. Following these steps should help you get your Sony WF-SP800N headphones up and running on your laptop in no time.