How to Increase The Ram of a Tablet
Among the parameters that most influence the purchase decision of a tablet or smartphone are the memories: both the ROM memory (which refers to the storage capacity) and the RAM, which is the one in charge of guaranteeing the fluidity of processes on the device.
Content of the page
Now, due to the relevance that the latter has for laptops and desktop computers, in which this memory can be expanded manually by up to several tens of GB if the microprocessor allows it, it is not surprising that many people wonder if It is possible to increase the RAM of an Android device virtually.
And the answer is yes. With the applications and methods that we will explain today you will be able to increase the RAM of your tablet, and thus make the processes and applications on your computer go faster. Of course, keep in mind that if the processor does not accompany, there is very little that can achieve a potential increase in RAM.
Considerations before increasing the RAM of a phone or tablet

It is logical that you may want to increase the RAM memory on your tablet if it is only 1 GB or 2 GB since it is an amount that quite limits the user experience.
Although the Android operating system is designed to optimize the use of said memory to the maximum, the truth is that advanced users can feel limited and frustrated when they perceive delays in opening applications, slowness in their execution, and lags when carrying out several chores.
In any case, before making significant changes to the software (which is the only thing we can do in the case of an Android tablet or phone), there are a few things to keep in mind:
1. Know the amount of RAM in your tablet (and if it allows you to expand it)
Before embarking on the adventure of increasing the capabilities of your device, you should know how much memory it has. To do this, you can use one of the following methods:
The first does not require extra apps and consists of going to the Settings, in the “About the phone” section, where you will possibly find information on the amount of RAM memory.
In the event that this section does not provide the information, you can download and run the following application:
CPU-Z
CPU-Z provides the characteristics of the hardware, software, drivers, and other parameters of your computer. By touching the box corresponding to the RAM memory, we will not only see its total size but also a series of relevant information regarding it.
The next thing you need to know is if your computer supports expanding RAM, for which you can use this other app:
Memory Info & Swapfile Check
Once you download the Memory Info & Swapfile Check app from the Play Store, simply launch it and allow it to access your device information.
In this way, you will get information about the amount of RAM, and details of it, and we will also know immediately if we have root access or not, since not all firmware allows such modification.
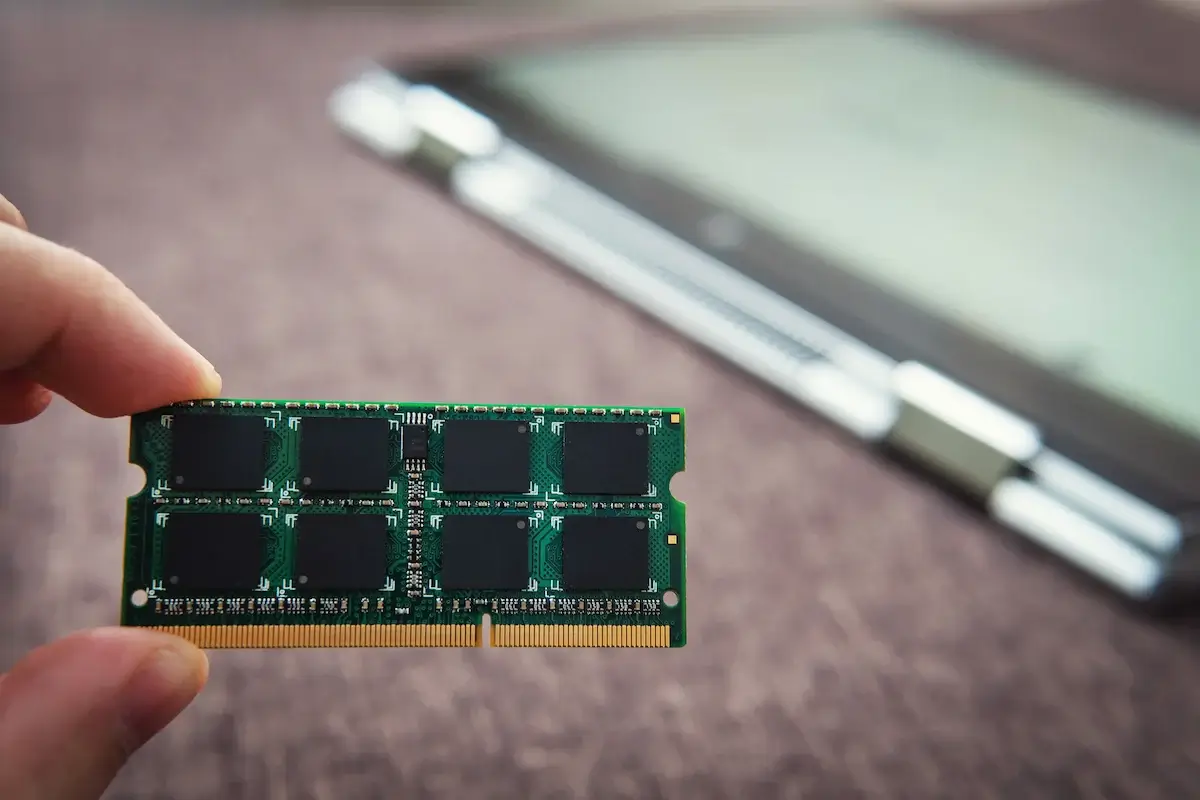
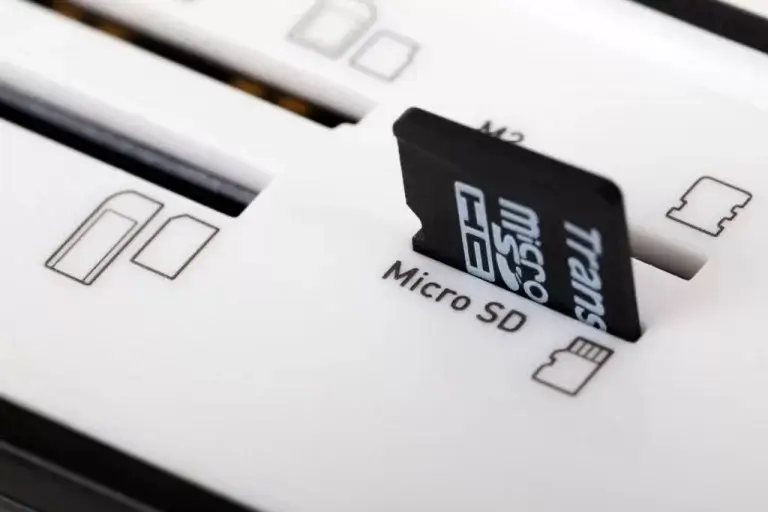
2. Get good quality and resistant SD card
MicroSD cards not only allow you to increase the storage capacity of your tablet, but you will also see that most of the methods that we have used consist of increasing RAM memory with a microSD card.
To carry it out, it is necessary to have a card that is at least Class 4 to be reliable. Since a malfunction of this accessory may result in an error in the process of increasing RAM or making partitions necessary for rooting. Which could end up with your device in worse working condition, or unusable.
3. Install an app to clean your RAM
After carrying out the procedures that we detail below, it is recommended that you install an application that allows you to regulate and optimize the consumption of RAM memory. Among the most recommended are:
Clean master
Clean Master is a free app that not only cleans the RAM of processes and applications running unnecessarily but also has its own antivirus, battery saver, CPU cooling system, etc.
DU Speed Booster
Another app that also cleans RAM memory and improves its performance is DU Speed Booster. It can also clean junk files, and cache memory and includes an antivirus.
Fast Task Killer
Fast Task Killer also cleans the RAM, but it also automatically closes those apps that regularly work in the background.
4. Take the risks of alternatives that require root
Many applications to improve the speed of the devices and increase their capabilities require that they be rooted. Rooting is a process that allows you to increase performance, speed up the processor, remove bloatware, and achieve a high degree of personalization on your computer.
The problem is that this process often voids equipment warranties, and if not carried out correctly, they can end up causing equipment problems. Manufacturers often discourage the use of rooting methods, and the truth is that it comes with risks, which in some cases include ending up with an unusable case.
Therefore, before rooting your computer to increase its RAM, make sure that you have seen enough tutorials, have checked with other people who have rooted a device similar to yours, and that you are willing to take the risks of doing so.
Increase the RAM of your tablet on a rooted device
If you have already rooted your tablet, or you are about to do it (later in this post we will explain a reliable method to do it), with the help of the following applications you will be able to increase the RAM of your tablet:
1. App Roehsoft RAM Expander
The Roehsoft RAM Expander app allows you to use microSD as RAM on Android. It is not currently on Google Play, where it cost 4.99 $, but we have included a link to another secure website where it can be downloaded for free.
But it is definitely a reliable option that does not cause problems in the operating system, as it recognizes the added RAM as the computer’s own, so it will not exhibit problems in normal operation.
Once you download and run the app, it will require an evaluation of the capabilities of your computer, you will only have to start it by pressing the “Roehsoft RAMExpander Test” button.
At the end of the test, select the microSD card to show the application the access path, and after clicking “OK”, the program will give you the option to adjust the GB you want to provide.
2. App Swapper & Tools
The second option is the Swapper & Tools application, which recognizes the space available to use as RAM. This option allows you to store the applications that are running in the background, to free up RAM memory for use with the active application that you are using at the moment.
This is a very useful free app if your tablet has 2 GB of RAM or less. To configure it, we will have a screen called Swapper Configuration, in which we will select the path where we will make the partition to use it as alternative memory (SWAP), in the “Choose Swap Directory” button,
Then we will enter the amount of GB that we want to increase in the “Swap File Size (in MB)” box. Remember that 1 GB is equal to 1,000 MB, so we will place an amount between 5,000-10,000 MB, and if you have the space available to do so, that will be it.
In this case, we have recommended that you do not exceed 10 GB of RAM since an excessive number could cause errors in the proper functioning of the program.
3. SWAP Method
The SWAP method consists of creating a partition on the micro SD or internal storage of the Android device for the operating system to use as alternative RAM. To implement it, your tablet not only has to be root but also has a modified SWAP-compatible kernel.
It is absolutely necessary that you make sure of compatibility because if you do it wrong, you can lose your device. In any case, here are the steps to follow:
- Download and install the AParted app, while your microSD is installed. Also, download AMemoryBoost to use later.
- Press the “+” button to create three partitions on your microSD, the first will be the SWAP partition, which must be in Linux Swap format, and where you will place the amount of RAM memory to increase. We recommend 2 GB for greater security.
- Create another partition to move the app in question to SD with Link2SD or similar apps in EXT2/3/4 and add 4GB more to RAM.
- Create one last partition in FAT32 to use part of the microSD as storage.
- Press the “Apply” button and an alert will appear that all memory content may be erased and that you should unmount the microSD.
- Outside the app, go to Settings/Storage/Safely Unmount SD/ but leave the SD in place.
- Continue in AParts with the partitioning process, and when it’s ready, enable SWAP so that the tablet uses the partition as RAM memory.
- Run the AMemoryBoost app and activate the SWAP, then choose the corresponding partition, and voila!
How to increase Android RAM without root
If root seems like a risky method to you and you don’t have the necessary experience to remedy any errors during the process, you can use the following alternative:
1. Swap sin root
Swap Without Root is a free application that allows you to create and manage a new partition. When downloading and executing it, we only have to write the size of virtual RAM that we want and then “Create SWAP”.
Try 2GB-4GB at first, and then if you feel confident (and your microSD is with you) you can go higher, but we don’t recommend going over 10GB.
How to root your Android tablet to be able to expand the RAM
As you will need to root your tablet for 3/4 of the options that we have given you, to finish we will leave you the names of some applications to root your tablet or smartphone, and we will explain one of the most reliable ones, which is compatible with a large number of devices, but which is not so simple to execute:
If you want to have various options, you can explore Vamos, KingoRoot, iRoot, Framaroot, etc. apps. But we have opted for CF Auto Root, which you will have to download to your computer first:
CF Auto Root
Once you access the CF Auto Root repository, you can see a long list of device models for which to download the corresponding ZIP file for rooting. Once you have found the model of your tablet, continue as follows:
- Download the ZIP to your computer and extract it to an accessible location (your desktop, for example).
Turn on your Android tablet in Bootloader mode (Restart the tablet, pressing the “Volume -” and “Power” buttons at the same time). - Connect via USB to the computer and enter the folder extracted from the ZIP.
Open the file “root-XXXX.sh” (the XXXX corresponds to the operating system of your device).
A command window will appear with the notification that the bootloader will be unlocked and the device will be rooted. - Press any key to continue, and leave the script current until you reboot your tablet.
These are the best options that we have found as of 2022 to increase the RAM of your tablet. We hope you use them with caution and successfully achieve your goals.