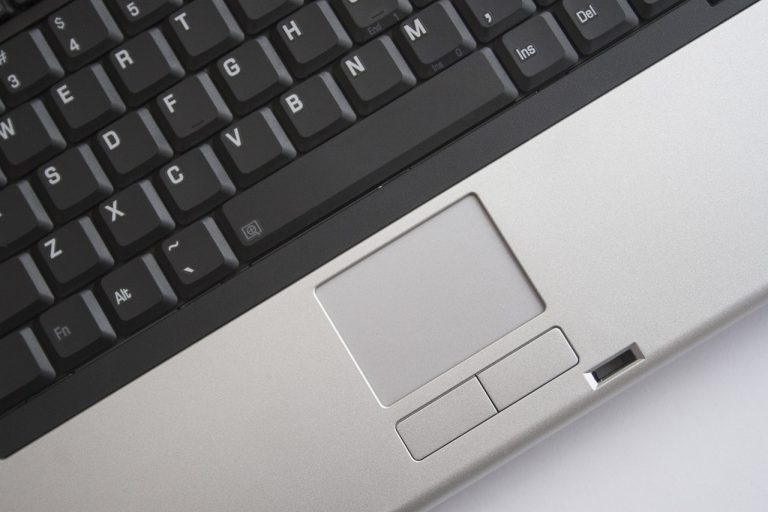
How to turn OFF Dell laptop touchpad
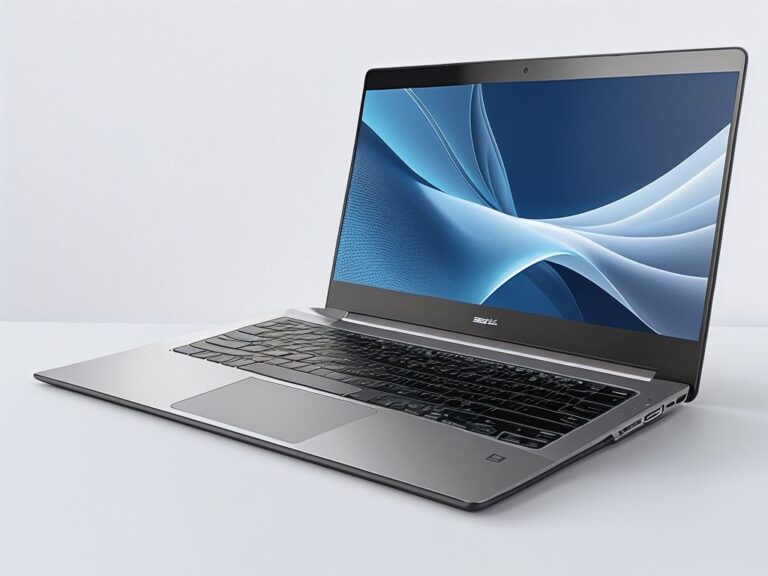
A laptop touchpad is designed to provide a comfortable and convenient way to control the cursor on the screen. It can be used for a variety of tasks, from navigating around the desktop to gaming and more. However, accidental touches or movements can cause the cursor to move or click on something that was not intended, which can be frustrating. In addition, the touchpad can wear out over time, becoming less responsive and more difficult to use. Fortunately, there are ways to turn off the touchpad on a Dell laptop, allowing you to use an external mouse or take advantage of specialized software.
Content of the page
Once you turn your Dell laptop touchpad off, you may want to turn it on.
Accidental Touches and Cursor Movement
Accidental touches can be particularly frustrating when trying to type on a laptop. This can be caused by resting a hand on the touchpad, or by brushing against it while typing. Fortunately, this issue can be easily resolved by disabling the touchpad. This will allow the user to type without worrying about accidental touches, as the cursor will not move until the touchpad is re-enabled. Additionally, the touchpad can be disabled when using an external mouse, as it may interfere with the movement of the cursor.
Using an External Mouse for Precision
The touchpad on a laptop is designed for convenience, but it may not be as precise as an external mouse. If you are working on a project that requires precise movements, such as graphic design or editing, an external mouse may provide a more accurate way to control the cursor. By disabling the touchpad on your Dell laptop, you can take advantage of an external mouse without worrying about the touchpad interfering with the cursor movement.
Preventing Touchpad Wear and Tear
The touchpad on a laptop can become less responsive over time due to wear and tear. This can be caused by a build-up of dirt and dust, or simply by the repeated use of the touchpad. By disabling the touchpad when it is not in use, you can reduce the amount of wear and tear and help to keep the touchpad functioning properly. Additionally, disabling the touchpad on a regular basis will help to extend its lifespan and keep it in working order for longer.
Exploring the Different Methods to Turn Off the Dell Laptop Touchpad
Dell laptops are equipped with a touchpad that allows users to navigate through the computer with the help of their fingers. However, it can be annoying at times when the laptop’s touchpad is not working properly, or when it is too sensitive and causes accidental clicks. Fortunately, there are several methods to turn off the Dell laptop touchpad and make it easier to work.

Method 1: Using the Function Key (Fn) Shortcut
Many Dell laptop models come with a function key (Fn) shortcut that allows you to quickly disable the touchpad. This method is fast and easy, and can be done without having to go into the Windows settings or Device Manager.
Locating the Appropriate Function Key
The exact key combination varies depending on the model of your laptop. To find the right combination, start by pressing the Fn key and then look for the corresponding touchpad-related icon (usually a hand or a pointing finger) on one of the function keys. The exact key combination should be printed on the bottom of the laptop.
Steps to Disable the Touchpad Using Fn Key
Once you have located the correct key combination, press and hold the Fn key and then press the touchpad-related function key. This should immediately disable the touchpad. To re-enable it, press and hold the Fn key and then press the touchpad-related function key again.
Method 2: Disabling Touchpad Through Windows Settings
Windows also provides an option to disable the touchpad from the Settings app. This method is slightly more involved than the previous one, but it is still fairly straightforward.
Navigating to the Touchpad Settings
To access the touchpad settings, open the Settings app by pressing the Windows logo key and I simultaneously. Then, select Devices from the menu on the left and then select the Touchpad option from the list on the right.
Turning Off the Touchpad in Windows Settings
Once you have accessed the touchpad settings, locate the “Disable touchpad” option. Click the switch next to it to turn off the touchpad. To re-enable the touchpad, click the switch again.
Method 3: Disabling Touchpad in the Device Manager
Another way to turn off the touchpad is by using the Device Manager. This method is slightly more complicated than the previous two, but it is still relatively easy.
Accessing Device Manager on Your Dell Laptop
To access the Device Manager, press the Windows logo key and R simultaneously. Then, type devmgmt.msc and press the Enter key.
Disabling the Touchpad in Device Manager
Once you have opened the Device Manager, expand the Mice and other pointing devices section. Right-click the touchpad device and select Disable from the context menu. To re-enable the touchpad, right-click the device again and select Enable from the context menu.
Method 4: Using the Dell Touchpad Software
Dell laptops come with a pre-installed software that allows users to control the touchpad settings. This method is more involved than the previous three, but it allows you to access more advanced settings.
Finding the Dell Touchpad Software on Your Laptop
To locate the Dell touchpad software, press the Windows logo key and S simultaneously. Then, type “Dell Touchpad” in the search box and select the Dell Touchpad application from the results.
Disabling the Touchpad Using Dell Touchpad Software
Once you have opened the Dell Touchpad application, locate the “Disable touchpad” option. Click the switch next to it to turn off the touchpad. To re-enable the touchpad, click the switch again.
| Method | Steps |
|---|---|
| Function Key Combination | Press “Fn” key + touchpad icon key |
| Touchpad Settings | Start menu > Type “Touchpad” > Touchpad settings |
| Dell Pointing Devices Software | Open “Dell Pointing Devices” software > Adjust settings |
Troubleshooting Common Issues with Touchpad Disabling
Dell laptops are known for their advanced features and quality components, but even the best machines can suffer from issues with touchpad disabling. If you’re having trouble with your Dell laptop’s touchpad, there are a few steps you can take to troubleshoot the issue and get it working again. This article will guide you through the process of diagnosing and fixing touchpad problems.
Touchpad Not Disabling Despite Following the Methods
If you’ve followed the steps for disabling your Dell laptop’s touchpad but it’s still not turning off, there are a few possible causes to look into. First, make sure you’ve followed the instructions correctly – if you’ve missed a step or used the wrong key combination, the touchpad won’t turn off. If that’s not the issue, then there may be a problem with the laptop’s drivers. In this case, you’ll need to update the touchpad driver to the latest version.
Updating the Touchpad Driver
To update your Dell laptop’s touchpad driver, open the Device Manager and find the touchpad device. Right-click it and select “Update Driver”. Make sure you select the “Search Automatically for Updated Driver Software” option. The Device Manager will then search for the latest driver software, and if one is available, it will download and install it automatically.
Checking for Conflicting Software
Sometimes, third-party software can interfere with the proper functioning of the touchpad, preventing it from disabling. To check for any conflicting software, open the Control Panel and select “Programs and Features”. Here, you can see a list of all the software installed on your Dell laptop. If you find any software that is related to the touchpad, such as a driver or utility, uninstall it and then try to disable the touchpad again.
Re-enabling the Touchpad After Disabling It
If you’ve disabled your Dell laptop’s touchpad but now you want to re-enable it, you can do so using a few different methods. Depending on your laptop model, you may be able to use the Fn key, Windows Settings, Device Manager, or a Dell touchpad software to turn the touchpad back on.
Re-enabling the Touchpad Using the Fn Key
If your Dell laptop has an Fn key, you can use it to quickly re-enable the touchpad. To do this, press and hold the Fn key and then press the key with the touchpad icon. This will usually toggle the touchpad on and off. If this doesn’t work, try pressing and holding the Fn key, then pressing the F7 key.
Re-enabling the Touchpad Through Windows Settings
To re-enable the touchpad on your Dell laptop using Windows Settings, open the Settings menu and select “Devices”. In the Devices window, select “Touchpad” and then toggle the Enable Touchpad option to the “On” position. This will re-enable the touchpad on your Dell laptop.
Re-enabling the Touchpad in Device Manager
If you’re having trouble re-enabling the touchpad using the methods mentioned above, you can also try using the Device Manager. To do this, open the Device Manager and find the touchpad device. Right-click it and select “Enable”. This should re-enable the touchpad on your Dell laptop.
Re-enabling the Touchpad Using Dell Touchpad Software
If you have Dell-specific touchpad software installed on your laptop, you can use it to re-enable the touchpad. To do this, open the touchpad software and look for an option to enable or disable the touchpad. If you can’t find this option, you may need to reinstall the touchpad software.
Additional Tips for an Enhanced Laptop Experience
Using Keyboard Shortcuts for Efficient Navigation

Using keyboard shortcuts is a great way to save time and get around your Dell laptop faster. Common keyboard shortcuts include Ctrl+C to copy, Ctrl+V to paste, and Ctrl+Z to undo. You can also press the Windows key to open the Start Menu. Learning keyboard shortcuts is a great way to save time and improve your productivity.
Optimizing Your Laptop for Better Performance
To get the most out of your Dell laptop, you should optimize it for better performance. This can be done by clearing out unnecessary files and programs, defragmenting the hard drive, and updating the drivers. You should also make sure that your laptop is running on the latest version of Windows. Taking these steps will help ensure that your Dell laptop is running at peak performance.
Keeping Your Dell Laptop Clean and Well-maintained
Taking care of your Dell laptop is important for preserving its performance and lifespan. To keep your laptop clean, use a microfiber cloth to wipe away dust and dirt. You should also use compressed air to clean out the vents and fans, as this will help to keep your laptop from overheating. Finally, make sure to regularly check for software updates and install them when they become available.
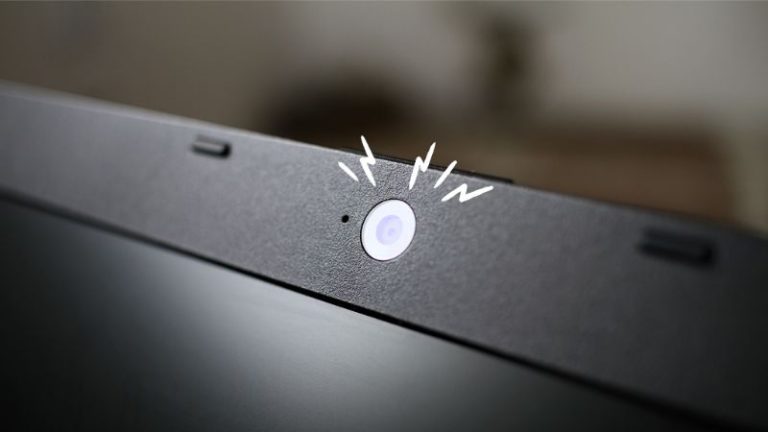
Check also our guide on how to turn on Dell laptop camera.