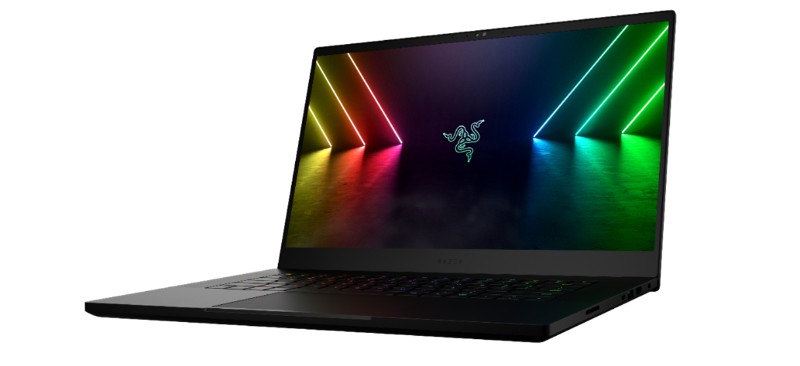
Taking a screenshot on a Razer laptop is relatively simple, regardless of which model you have. Whether you’re using a laptop with a standard keyboard or a laptop with a gaming keyboard, you can easily capture what’s on the screen with a few quick steps.
Using Keyboard Shortcuts
The fastest way to take a screenshot on a Razer laptop is to use the keyboard shortcuts. To take a screenshot of the entire screen, press Windows + Print Screen. This will take a screenshot of the entire screen and save it as an image file in your “Pictures” folder.
To take a partial screenshot, press Alt + Print Screen. This will take a screenshot of only the active window. The image file will be saved to your “Pictures” folder.
Using the Snipping Tool
If you’d like to be more precise when taking a screenshot, you can use the Snipping Tool. To open the Snipping Tool, press Windows + S. Then, type “Snipping Tool” in the search bar and click on the icon.
Once the Snipping Tool is open, click on the “New” button. This will allow you to select the area of the screen you want to capture. Simply drag your cursor across the area you want to capture and then click on the “Save” button. The image file will be saved to your “Pictures” folder.
Editing and Saving Your Screenshot
Once you’ve taken the screenshot, you may want to edit it before saving it.
Editing Your Screenshot
If you need to edit your screenshot, you can use the Snipping Tool or any other photo editor. The Snipping Tool has a few basic editing features, such as the ability to crop, highlight, or draw arrows on the image.
If you need more advanced editing features, you can use a photo editor such as Adobe Photoshop or GIMP. Both of these programs have a wide range of editing features that can help you customize your screenshot.
Saving Your Screenshot
Once you’ve edited your screenshot, you’ll need to save it. To save your screenshot, click on the “Save” button in the Snipping Tool or your photo editor. You can save the file as a JPEG, PNG, or other image file format. The file will be saved to your “Pictures” folder.
Tips for Taking the Perfect Screenshot
Taking screenshots is an essential skill for anyone who uses a laptop. Whether you need to capture something for a presentation or you want to document something for future reference, knowing how to screenshot on a laptop is a useful skill. Screenshots can be taken on any laptop, including a Razer laptop, but the process can be slightly different depending on the type of laptop you have.
Using Third-Party Applications
Third-party applications are one of the easiest ways to take screenshots on Razer laptops. These applications are available for free and can be used to take screenshots with a few simple clicks.
Which Third-Party Applications Should You Use?
There are several third-party applications available for taking screenshots on Razer laptops. Some of the most popular applications include:
- Snagit
- Lightshot
- Greenshot
- Gyazo
- PicPick
These applications are all free and easy to use, so you can choose the one that best meets your needs.
How to Take Screenshots with Third-Party Applications
Taking screenshots with a third-party application is easy. All you have to do is install the application on your Razer laptop and then open the application and follow the instructions. Depending on the application you are using, you may be able to take screenshots of the entire screen, just part of the screen or even a specific window.
Best Practices for Screenshots
Taking screenshots is easy, but there are some best practices you should follow to ensure that your screenshots are clear and easy to understand.
Resizing Your Screenshots
When taking screenshots, it is important to make sure that the screenshots are the right size. If the screenshots are too large, they may be difficult to view, and if they are too small, the details may be difficult to make out. To ensure that your screenshots are the right size, it is best to use a tool that allows you to resize the screenshots.
Including Annotations and Labels
Adding annotations and labels to your screenshots can make them easier to understand. Annotations are notes that you can add to your screenshots to explain what is happening in the image. Labels are text boxes that you can add to your screenshots to highlight important elements.
Organizing Your Screenshots
Organizing your screenshots can make it easier to find the screenshots you are looking for. You can use folders to organize your screenshots or you can use a tool such as Evernote to store and organize your screenshots.
