Solving the Lenovo Tablet Boot Loop: Detailed Guide for TAB S850F and M10 Plus Models
We’ve all been there. One minute, you’re enjoying your Lenovo tablet, the next, it’s stuck in a frustrating boot loop. The screen flickers, the logo appears, and then…nothing. It’s a common issue, one that can make your device virtually unusable. But don’t worry, there’s hope yet.
Content of the page
In this article, we’ll delve into the intricacies of the Lenovo tablet boot loop problem. We’ll explore why it happens, and more importantly, how you can fix it. Whether it’s a TAB S850F or an M10 Plus, we’ve got you covered. So sit back, relax, and let’s get that tablet running smoothly again.
Understanding the Lenovo Tablet Boot Loop Issue
To comprehend the frequently occurring boot loop issue in Lenovo tablets, let’s dive into the typical scenarios that trigger this problem. We’ve analyzed models like the TAB S850F and M10 Plus and derived actionable solutions.
Common Scenarios Leading to Boot Loop
Software Glitches
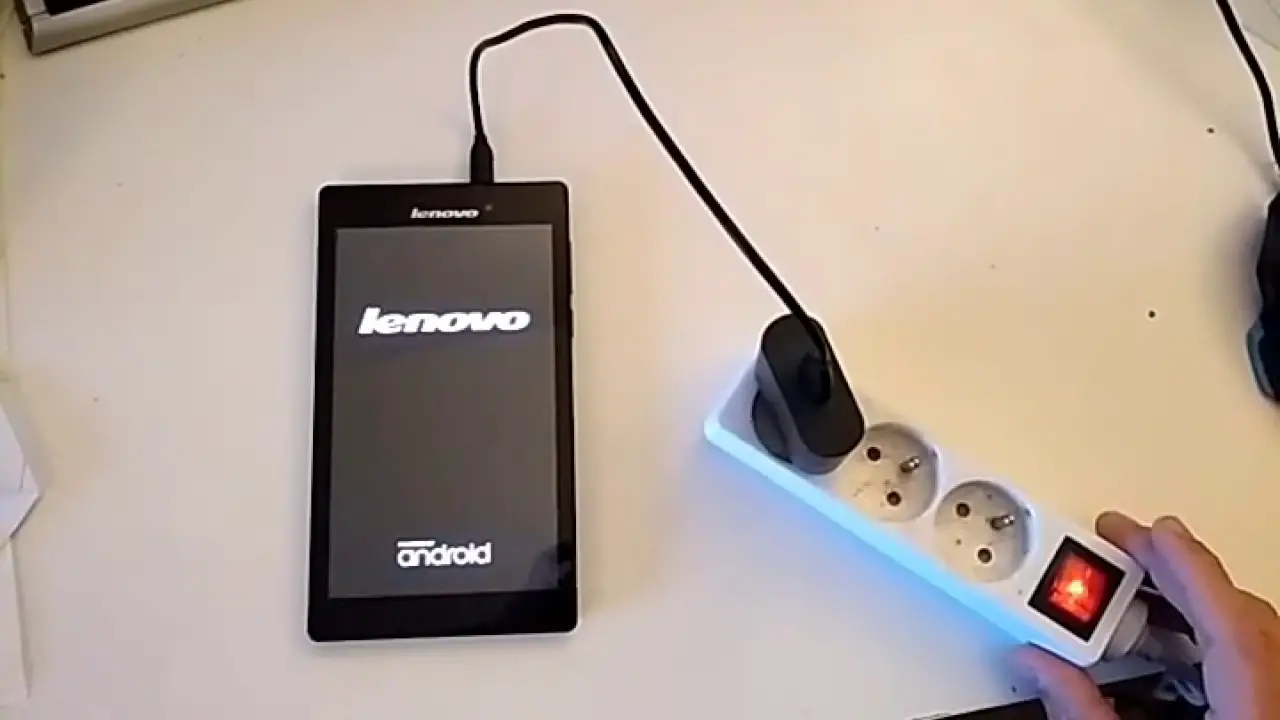
At times, Lenovo tablets, after flashing the logo, can find themselves trapped in a reboot cycle due to software complications or damaged system files. In such settings, employing a hard reset or reflashing the stock ROM might be a game-changer.
Executing a hard reset involves simultaneously pressing and holding the power and volume up buttons until the device restarts and brings up the boot screen. Release the buttons only when this screen appears, and get ready for the device to boot up as usual.
The process of reflashing the stock ROM is facilitated using tools like the Lenovo RSA tool, equiped to handle situations like the “Orange State”. This state signifies an unlocked device that can’t be trusted. To commence the reflashing process, ensure you download the stock ROM correlative to your device’s serial number. Follow these guidelines and reflash it to potentially resolve the boot loop issue.
Boot Priority Misalignment
Frequently, a boot loop may emerge from improper boot priority alignments. The boot sequence of a device defines the order in which the hardware storage devices are loaded by the computer’s operating system. Misconfigurations in this sequence can lead to operational issues and often end in a boot loop. To fix this, ensure your device’s boot priority is correctly set, usually by entering the BIOS or UEFI settings during startup.
Laboring to understand and resolve these boot loop scenarios can be 🔍 technically challenging. Still, with the right tools and guidance, it’s possible to rectify the situation and return your Lenovo tablet back to normal operation. Always remember — patience is paramount in this process, as each device and every boot loop scenario may require unique solutions.
Possible Causes of Lenovo Tablet Boot Loop
In exploring the possible causes behind a Lenovo tablet boot loop, the investigation zeroes in on both hardware malfunctions and operating system errors. Both aspects can instigate or exacerbate boot looping situations, depeding on their severity and the measures taken to resolve them.
Hardware Issues
Hardware discrepancies play a significant role in causing a boot loop in Lenovo tablets. For instance, Power Issues such as a defective battery or power button issues can trigger relentless boot cycles. A quick battery replacement or button repair may rectify the issue and restore normal booting operations.
On another note, External Devices connected to the tablet can also instigate boot loop malaises. This explains why the tablet might boot successfully once these potential sources of interference have been disconnected.
Operating System Errors
A gamut of Operating System Errors may also be a source of a boot loop. One common culprit could be Corrupted System Files. Such system file disruptions can alter booting processes and inevitably cause the tablet to be stuck in a booting loop.
Similarly, Bootloader Issues can be another root cause of boot loop glitches. For example, an unlocked or corrupted bootloader—as seen in the “Orange State” error on the Lenovo M10 Plus—can directly contribute to a boot loop. In such scenarios, recovering or reactivating the bootloader may aid in mitigating the boot loop issue.
Preliminary Steps Before Repair
Before delving into the intricacies of fixing a Lenovo boot loop, it’s crucial to take some preliminary steps. These steps significantly enhance the likelihood of a successful resolution while also ensuring the preservation of the user’s data.
Backing up Your Data
Accessing a tablet caught in a boot loop becomes increasingly difficult, making data backup a challenging feat. In instances where brief accessibility to the device is possible, it’s advisable to back up data immediately. This includes essential files and applications that could be lost in the troubleshooting process. However, for cases where backing up directly from the device isn’t feasible due to the severity of the boot loop, users who sync their data to a cloud service, or maintain regular backups, can readily bypass this step.
Acquiring Necessary Tools
A successful resolution to a Lenovo tablet boot loop often necessitates specific tools.
- USB Cable and Computer: Troubleshooting or flashing the ROM requires the ability to connect the affected tablet to a computer, achievable with the use of a compatible USB cable.
- Fastboot and ADB Tools: Gain control over your device’s system via command-line tools like ‘fastboot’ and ‘adb’, available for download for both Android SDK Platform-Tools and Minimal ADB and Fastboot.
- Stock ROM and Flashing Tools: Reflashing the stock ROM might emerge as a plausible solution. In these instances, tools pertinent to the specific Lenovo model become necessary. One such tool is the Lenovo RSA tool, a versatile resource for updating or modifying a device’s firmware.
Detailed Guide on Fixing Lenovo Tablet Boot Loop
In this section, I will provide step-by-step instructions for various methods to resolve a Lenovo tablet stuck in a boot loop. Each subsection focuses on a different approach.
Method 1: Using Built-in Automatic Repair
Often, the tablet’s firmware contains built-in automatic repair functionality. Activating it typically entails holding down the power button until a boot screen appears. If it includes an ‘automatic repair’ option, I select it. This method restores system files and removes software conflicts, possibly resolving the boot loop.
Method 2: Boot Sector Repair
If issues persist, I rely on tools such as EaseUS Partition Master Professional for boot sector repair. Booting from this software’s WinPE disk allows me to rebuild the Master Boot Record (MBR) or repair any corrupted BCD files. It’s crucial to handle this method with care as it involves critical system elements.
Method 3: Running Lenovo Diagnostics Tools
Another approach entails using Lenovo’s proprietary diagnostics tools to detect and rectify issues. By running a comprehensive hardware scan, I can detect malfunctioning components causing the boot loop.
Method 4: Performing a Hard Reset
In some instances, a hard reset proceeds as the correct step, executed by long-pressing the power button for around five seconds or locating and pressing the dedicated Reset button. Such action resets the device, potentially breaking the cycle.
Method 5: Resetting BIOS to Default Setting
Resetting BIOS to its default settings has proven handy in some scenarios. During boot, I press F2, or Del, to enter BIOS setup, navigate the menus, and select ‘load default settings’. Remember, changes in BIOS affect systems deeply; hence, caution is vital.
Method 6: Booting in Safe Mode
Boot looping could also halt by booting the tablet in Safe Mode. This limited interface lets me isolate problematic apps or processes by disabling all third-party applications, helping to identify the exact issue causing the loop.
Method 7: Factory Resetting Lenovo Tablet
When all else fails, I resort to a factory reset from the Recovery Mode. However, this results in the loss of all data on the device and serves as a last resort.
Method 8: Re-installing Operating System
Re-installing the operating system functions as another last-ditch solution. It wipes all data but often successfully resolves firmware or system file issues. However, re-installation requires a specific set of skills and, therefore, remains an option for advanced users.
Remember, every method comes with its potentials and risks. Therefore, selecting the right one depends primarily on the severity of the problem, technical proficiency, and personal comfort level.
When to Consider Professional Help
After executing the mentioned troubleshooting steps, there are instances that necessitate seeking professional aid. This typically occurs when the root cause lies beyond software complications and enters the realm of hardware failures.
Symptoms Indicating Hardware Failure
It’s crucial to look out for signs that point towards a failing component in the tablet. A persisting boot loop despite attempting various hardware-agnostic solutions, such as booting in safe mode or performing a factory reset, could be symptomatic of hardware failure.
Additionally, physical abnormalities like overheating, unusual noises, or visual distortions on the display might signal problems with the hardware. Frequent restarts and unresponsive behavior, not tied to boot-up, can further indicate hardware issues. Lastly, if the electronic components, shown when removing the tablet’s back cover, are physically damaged or have corrosion, it’s likely a hardware failure.
Evaluating the Cost-Benefit Ratio
Before engaging professional help, consider the cost to benefit ratio. If the tablet’s age, condition, or model reduces its value, the repair costs may outweigh the benefits of replacement.
For instance, the fair market value of a Lenovo TAB S850F is considerably less than the potential cost of a comprehensive hardware repair. Similarly, if the warranty has expired, repair costs can surpass the price of a brand new Lenovo M10 Plus.
About Data Safety Precautions
Before handing over the tablet for professional repair, ensure to make a backup of personal data, if accessible. Although a skilled technician strives to preserve user data during repairs, some procedures, particularly hardware replacements, could potentially lead to data loss.
Finding A Certified Lenovo Technician
Once you decide to seek professional assistance, find a Lenovo-certified technician for reliable service. Lenovo has a network of authorized service providers that can handle repairs, of tablets, with efficiency and expertise. Using Lenovo’s tool, users can find nearby authorized service providers by simply entering their location. They assure genuine parts, warranty validated services, and a promise of high-quality repairs.
Remember, while it’s commendable to try solving issues ourselves, some problems may require specialized knowledge and tools beyond our reach. Rather than risking further damage, it’s often safer and more cost-efficient to let professionals handle such issues.
Conclusion
So you’ve got a Lenovo tablet stuck in a boot loop. Don’t panic! It’s a common problem, often due to software glitches or boot priority misalignment. With patience and the right tools, you’ll likely get your tablet up and running again. Remember, hardware malfunctions and operating system errors can also cause this issue. It’s always essential to back up your data before attempting any fixes.
If you’re tech-savvy, you can try various methods outlined here, like a hard reset, resetting BIOS, or even reinstalling the operating system. But if you’re unsure or if hardware failure is suspected, it’s best to seek professional help. While self-troubleshooting is commendable, some issues need specialized knowledge and tools. Always weigh the cost of repairs against replacement, especially for older models. And remember, the key to any successful repair is patience and persistence. Good luck fixing your Lenovo tablet boot loop!