Mastering Your Lenovo Tablet: A Comprehensive Guide to Downgrading, Resetting, and Customizing
In the fast-paced world of technology, newer isn’t always better. Sometimes, you might find that an older version of your tablet’s operating system works more smoothly or is more compatible with your favorite apps. This comprehensive guide will walk you through the process of downgrading your Lenovo tablet, as well as address other common concerns such as changing the operating system, resetting your device, removing an owner, and disabling kids mode.
Content of the page
Understanding the Risks and Preparations
Before we dive into the downgrade process, it’s crucial to understand the potential risks and necessary preparations:
- Data Loss: Downgrading often requires a factory reset, which will erase all data on your tablet. Ensure you have a complete backup of all important files, photos, and documents.
- Warranty Concerns: Modifying your tablet’s software may void your warranty. Check your warranty terms before proceeding.
- Compatibility Issues: Older versions of the operating system might not support some newer apps or features.
- Security Risks: Older versions may lack the latest security patches, potentially exposing your device to vulnerabilities.
- Battery Drain: In some cases, older software might not be as optimized, leading to faster battery drain.
Now that you’re aware of the potential drawbacks, let’s proceed with the downgrade process.
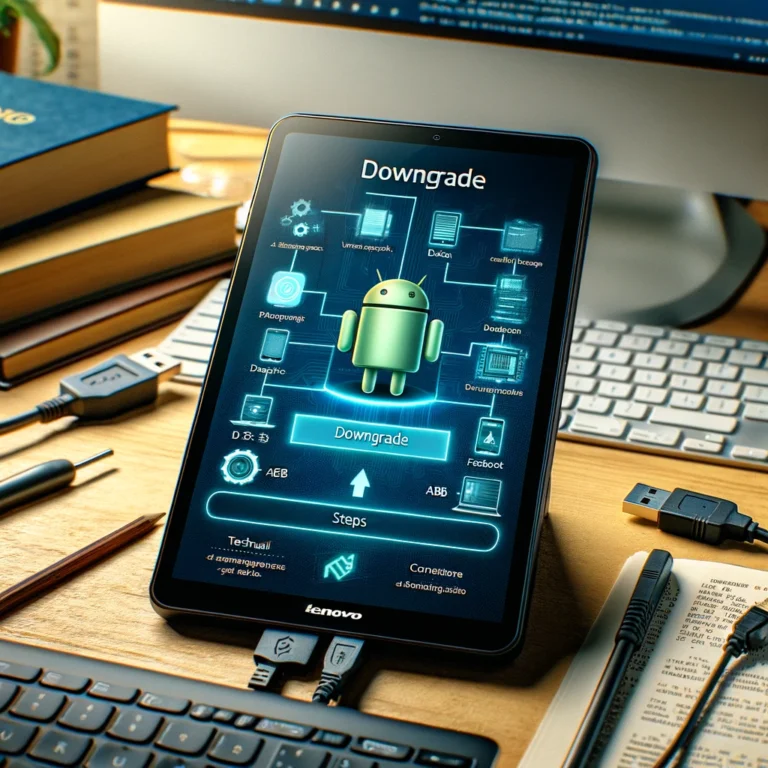
How to Downgrade Your Lenovo Tablet
Step 1: Identify Your Model and Current OS Version
- Go to “Settings” > “About tablet” or “About phone”.
- Note down your model number and current Android version.
Step 2: Find and Download the Appropriate Firmware
- Visit the official Lenovo support website.
- Enter your model number in the search bar.
- Navigate to the “Drivers & Software” section.
- Look for older firmware versions compatible with your device.
- Download the desired firmware package to your computer.
Step 3: Enable Developer Options and USB Debugging
- Go to “Settings” > “About tablet” or “About phone”.
- Tap “Build number” seven times to enable Developer Options.
- Go back to Settings, find “Developer options”.
- Enable “USB debugging”.
Step 4: Install Necessary Drivers on Your Computer
- Download and install the Lenovo USB drivers for your specific model.
- Ensure your computer recognizes the tablet when connected via USB.
Step 5: Use Lenovo Downgrade Tool
- Download the Lenovo Downgrade Tool from the official Lenovo website.
- Install and run the tool on your computer.
- Connect your tablet to the computer via USB.
- Follow the on-screen instructions to select the downloaded firmware and initiate the downgrade process.
Step 6: Wait for the Process to Complete
- The downgrade process may take 10-30 minutes. Do not disconnect your device or interrupt the process.
- Once complete, your tablet will restart with the older OS version.
Step 7: Set Up Your Tablet
- Go through the initial setup process.
- Restore your backed-up data if desired.
How to Change the OS on Your Lenovo Tablet
While Lenovo tablets typically run on Android, some users might want to explore alternative operating systems. Here’s a general guide on changing the OS:
- Research Compatible OS Options: Not all operating systems are compatible with every tablet. Research which alternative OSes (like custom ROMs) are available for your specific model.
- Unlock the Bootloader: This step is crucial but may void your warranty.
- Enable Developer Options and USB Debugging as mentioned earlier.
- Use the `fastboot oem unlock` command in a terminal or command prompt.
- Install a Custom Recovery: TWRP (Team Win Recovery Project) is a popular choice.
- Download the TWRP image for your specific model.
- Use fastboot to flash the recovery image.
- Download and Install the New OS:
- Download the OS package (ROM) you want to install.
- Transfer it to your tablet’s storage.
- Boot into recovery mode and flash the new ROM.
- First Boot and Setup: The first boot might take longer than usual. Once completed, set up your device with the new OS.
Remember, changing your OS is an advanced procedure that carries risks. Only proceed if you’re comfortable with these steps and understand the potential consequences.
How to Reset Your Lenovo Tablet
Resetting your Lenovo tablet can solve many issues and is often necessary before selling or gifting your device. Here’s how to do it:
Soft Reset (Reboot)
- Press and hold the Power button.
- Tap “Restart” or “Reboot” from the options that appear.
Factory Reset
- Go to “Settings” > “Backup & reset” or “System” > “Reset options”.
- Select “Factory data reset” or “Erase all data”.
- Confirm your choice and enter your PIN or pattern if prompted.
- Wait for the reset process to complete.
Hard Reset (When Tablet is Unresponsive)
- Turn off your tablet.
- Press and hold the Volume Down and Power buttons simultaneously.
- When the Lenovo logo appears, release the buttons.
- Use volume buttons to navigate to “Recovery mode” and press the Power button to select.
- Choose “Wipe data/factory reset” and confirm.
How to Remove an Owner from Your Lenovo Tablet
Removing an owner from your Lenovo tablet is typically necessary when you’ve acquired a second-hand device or want to reset ownership for any reason. Here’s how to do it:
- Factory Reset: Perform a factory reset as described in the previous section. This will remove all accounts associated with the device.
- Remove Google Account:
- Go to “Settings” > “Accounts” > “Google”.
- Select the account you want to remove.
- Tap the three-dot menu and select “Remove account”.
- Disable Factory Reset Protection (FRP):
- Before resetting, go to “Settings” > “Security” or “Lock screen and security”.
- Find “Find My Device” or “Factory Reset Protection” and turn it off.
- For Managed Devices:
If the tablet is managed by an organization:- Contact the IT department of the managing organization.
- Request them to remove the device from their management system.
Remember, if you’re not the legitimate owner of the device, attempting to remove the owner’s account could be illegal. Always ensure you have the right to make these changes.
How to Turn Off Kids Mode on Your Lenovo Tablet
Lenovo tablets often come with a Kids Mode feature, which provides a safe, controlled environment for children. Here’s how to disable it:
- Exit Kids Mode:
- Look for an “Exit” or “Parent” button, usually in a corner of the screen.
- You may need to solve a simple math problem or enter a PIN to exit.
- Disable Kids Mode Completely:
- Go to “Settings” > “Users” or “Users & accounts”.
- Find the Kids Mode or Child profile and select it.
- Choose “Delete user” or “Remove profile”.
- Using Lenovo Kid’s Account:
If you’re using Lenovo’s dedicated Kid’s Account app:- Open the Kid’s Account app.
- Tap the menu icon and select “Settings”.
- Choose “Exit Kid’s Account” and confirm.
- Parental Controls:
- Go to “Settings” > “Parental controls” or “Digital Wellbeing & parental controls”.
- Turn off parental controls or remove the child’s profile.
Comparison of Lenovo Tablet Management Options
Here’s a table comparing the different management options discussed in this article:
| Option | Difficulty | Risk Level | Reversible | Requires Backup |
|---|---|---|---|---|
| Downgrading OS | High | High | Yes | Yes |
| Changing OS | Very High | Very High | Yes | Yes |
| Factory Reset | Low | Medium | No | Yes |
| Removing Owner | Medium | Low | No | Yes |
| Disabling Kids Mode | Low | Low | Yes | No |
By following these steps, you can effectively manage your Lenovo tablet, whether you’re looking to downgrade the OS, reset the device, change ownership, or adjust parental controls. Remember to always back up your data before making significant changes to your device’s software or settings. With this knowledge, you can customize your Lenovo tablet experience to better suit your needs and preferences.